Brazilian Jiu-Jitsu is an ever-evolving martial art that leverages the human body’s structure to dominate and limit an opponent’s movement.
Many of today’s famous techniques have been passed from decades of trial and error, ensuring their efficacy in combat. Among these techniques is the notorious pin known reverse kesa gatame (aka reverse scarf hold). It is a pinning position that opens up many attacking opportunities. Today, we’ll go over some of the most common options you can do from this position.
An Age-Old Technique
The reverse kesa gatame is a pin originally coming from Judo. Many of BJJ’s techniques have roots in Judo and Japanese Ju-Jitsu, as they are part of the same lineage.
Judo is a fighting style known for its strong stand-up game, as well as efficient pinning tactics. The reverse kesa gatame is one of Judo’s main pinning moves and is a variant of the kesa gatame family of pins. As mentioned above, it is not uncommon to encounter Judo (and wrestling) moves incorporated into BJJ, after all these are all grappling martial arts and it is normal for techniques to overlap, especially the super effective ones. As such, the reverse kesa gatame is now considered an everyday move that you can see in BJJ academies worldwide.
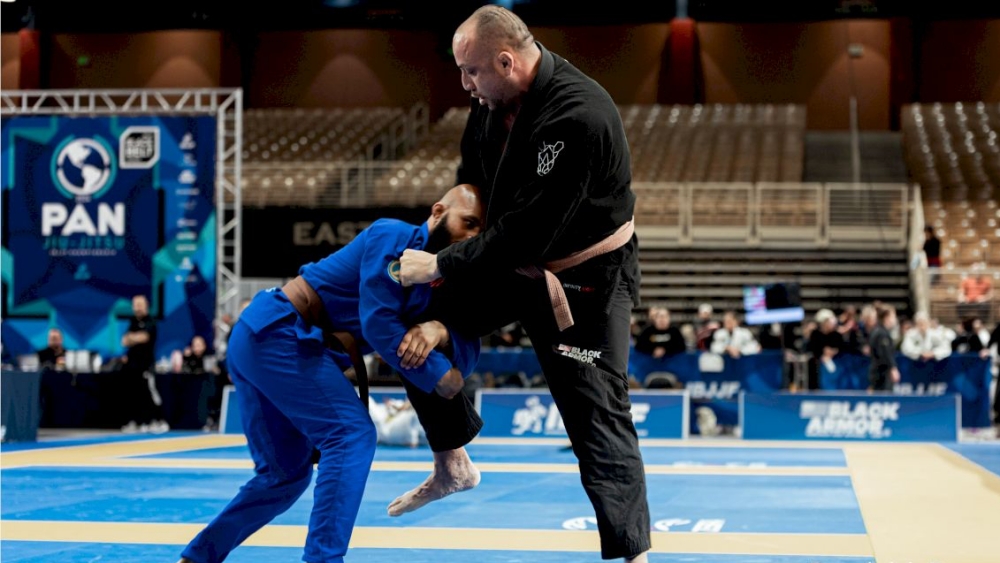
Attacks From Reverse Kesa Gatame
Now that we understand the position, let’s go over the attacks you can do once you establish the pin.
In this video, BJJ black belt Danny Fung demonstrates a couple of great attacks from the reverse kesa gatame. Note that these are just a sample of things you can do from here, there are plenty more for you to discover as you continue your study.
The video starts by explaining the benefit of moving to the reverse kesa position. A typical reaction once you have the side control pin is for your opponent to dig for an underhook. From here they can move to the side, go to their knees and threaten the low single-leg takedown. A solid counter to this is to place your arm across their hip, switch your base so that you now face towards their direction, and transition to the reverse kesa gatame. Doing this motion completely nullifies the opponent’s underhook, and gives you a lot of avenues to attack.
1) Top Wrist Lock
The first attack in the sequence is the wrist lock from the top position. If the opponent decides to frame against your chest, trap their arm with your chest as you catch their elbow. Go back to side control and completely cover the opponent’s elbow with both hands. From here, drop your weight down at a slight angle to finish with the wrist lock. Your angle may change depending on your position relative to your opponent’s.
2) Kimura And Arm Lock Combination
The next attack is a 2 move combination you can do in this position. This is the kimura-to-arm lock combo. From the reverse kesa gatame, you can grab the opponent’s far wrist and transition to the kimura lock. The kimura is another classic technique stemming from Judo. It is a reliable move you can do from almost all positions, and is a highly recommended technique to add to one’s game. More often than not, once you get the kimura grip, it should be relatively easy to finish the opponent. But in cases where the opponent forces their arm straight, you can transition to the straight arm lock by keeping the kimura grip and bending the arm to a straight position. Remember that this sequence can be switched as well, meaning that you can move from the straight-arm lock to the kimura lock and vice versa.
3) Kimura From North South
You can also do the kimura from the north-south position. If the opponent grabs their belt or pants to defend, you can switch to the north-south position and finish the kimura from there. The beauty of the kimura is for as long as you keep the grip, you can easily move from one position to the next – this is called the kimura trap.
4) Armbar From North South Kimura
Similar to the previous scenario, if the opponent forces their arm straight, you can then switch to another attacking option, the arm bar. The armbar is a common partner move of the kimura, especially when you are on top. The key to the armbar from north-south is to ensure that you keep everything tight as you go for the attack. A sloppy execution of the armbar can mean escape in most cases.
5) Moving To Mount
Going to mount from the reverse kesa is perhaps the most common transition you can do. Professor Danny recommends framing against the belt to ensure that you do not fall over once they do a desperation bridge.
6) Kneebar
You can get the kneebar from the reverse kesa gatame also. If the opponent places their other leg near their knee (to block you from going to mount), a good counter is to go for the kneebar by placing your nearside knee to their leg as you swing your other leg closer to their hip. Once you do this, you can grab their leg and finish with the kneebar submission.
7) Modified Kimura
The modified kimura is an alternative if you cannot finish with kimura. Grab the opponent’s wrist, and use your other arm to hug the elbow tight. Move your body to north-south, place your body weight down and finish with the submission.
8) Rolling Omoplata
The rolling omoplata is a fancy option from the reverse kesa position. Grab the opponent’s wrist behind your back as you sit your hips back. Hug your leg and roll over your shoulder to land in the omoplata position. Once here, adjust your body so that you can get a strong bite on the shoulder and finish with the omoplata.
Conclusion
These techniques are an excellent starting point for you to develop a strong reverse kesa gatame game. We encourage you to try these the next time you train in your gym. We guarantee that you’ll learn a thing or two from these techniques.
You may also like:
The BJJ Cross-Training Blueprint: Achieving Excellence In Gi And No-Gi
Unlocking Success: 5 Key Sparring Goals For BJJ Students Of Today