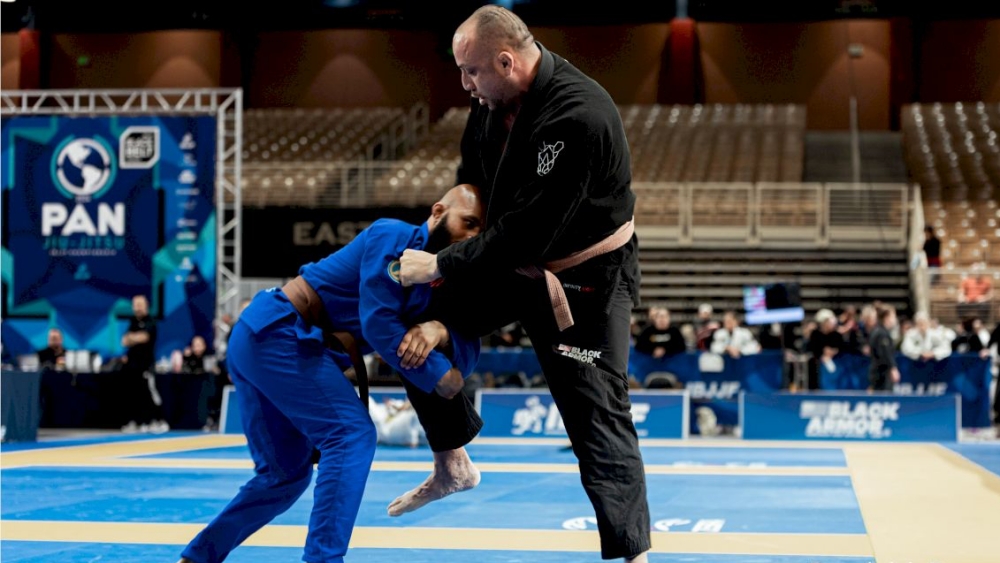
Brazilian Jiu-Jitsu is a sport where you use dominant positions to wear down and eventually submit an opponent. One of the best positions to be in as a top player is the full mount. It is a dominating pin that lets you crush the bottom player using your weight. It also opens up many submission opportunities.
The guard passer will face all kinds of resistance before getting the full mount. Sometimes even the smallest part of the body, like the heel, can be trapped by the bottom player to hinder the guard pass. This is called the 3/4 mount, an annoying position that can baffle even experienced grapplers. This article will explore the fundamental concepts of the 3/4 mount position.
What Is The 3/4 Mount Position?
The 3/4 (three quarter) mount is a technique where your opponent locks your leg to trap your heel or ankle. The configuration is similar to how your leg is trapped in half guard, just as when you are about to secure the full mount. Considered as an “almost” position, it brings uncertainty to the top player because the mount position is almost established but not quite. Their heel is trapped between the legs of the opponent, preventing them from getting a full pin. If the trapped heel is ignored, the bottom player can use it to capitalize and enter the half guard. From there, look for ways to escape the mount using reversals.
In the video below shown by Gustavo Gasperin, he shows six 3/4 mount passes you can use to secure the full mount.
As mentioned above, the 3/4 mount position is almost a full mount, but your ankle is trapped as your opponent squeezes their legs while facing the side of the trapped ankle. Think of this as their desperation move to prevent the full mount. For the guard passer, it can be difficult to remove the blocked foot by just smashing the bottom opponent. Proper technique is still required to remove the lock and proceed to more dominant positions.
Gustavo’s first option is to turn the opponent’s head to the opposite side as they face the side of the trapped ankle. To do this, drive your elbow and forearm against the opponent’s jaw. Lead with your elbow and slide your forearm to pin down the opponent’s head on the mat to force them to face the opposite direction. This will twist the opponent’s spine, forcing them to let go from trapping the ankle.
The second option is to perform a cross face. It is recommended that you do this with an underhook, but if you can’t pummel for an underhook, reach the opponent’s back instead. Drop your shoulder on the face of the opponent as you apply pressure. This will force the opponent to look in the opposite direction as you flatten them on the mat, forcing them to free the ankle. Doing the first two options will help you land in the full mount position.
The third option applies when you are unsuccessful with the first two options of forcing the opponent to face the opposite side and free the ankle wrap. This option can be used when you still have a cross face.
Perform a backstep with your opposite leg (the one that’s not trapped) and control the opponent’s top leg as you land. Continue applying shoulder pressure with the cross face while controlling the opponent’s leg, and use your opposite leg to push and free your trapped ankle.
The fourth option is done by throwing your opposite leg to the side your opponent is facing (the side where your ankle is trapped) as you drop your hips and get the underhook. This will free your ankle, letting you land in the side control with a cross face to finish. Performing both the third and fourth options will help you land in the side control position.
The fifth and sixth options will lead you to the back mount. The fifth option can be used when the opponent is pushing and framing on your same side leg where your ankle is trapped to force a half guard. Use your hand to frame on their neck and shoulder when this happens. This allows you to transition to the gift wrap position with a kimura grip while you bring your opposite leg behind their head as you drop your hips behind to sit back and face the opposite side. This will land you in the back control with hooks.
The last option is by doing a ninja roll. Perform a back step to catch your trapped ankle to do a figure four with your legs. Face the opposite side and do a shoulder roll, and you will land on the back mount.
Recovering From The 3/4 Mount
The 3/4 mount can be used to recover the guard from the bottom player’s perspective. In this video, Lachlan Giles demonstrates a simple way to recover to a safe position. It is important to frame on the opponent’s hips by placing your hand on the side you are facing.
A critical step is to not expose your triceps as it will allow the opponent to take you back. The first thing you must do to recover the guard is to push sideways with your frame as you attempt to recover the half guard. Doing so will force the opponent to recover the top position, which opens room for you to enter your top leg and apply a single butterfly hook. The hook will then allow you to push the opponent and recover back to the ideal half guard.
Final Thoughts
One of the most complicated aspects of BJJ is to position your body in ways that can dominate your opponent. This constant battle for positional dominance is key to a strong passing and top game. Leveraging dominant positions denies your opponents the ability to recover the guard, therefore allowing you to control the match effectively.
You may also like:


